
SERVICE AREA
All Of Canberra
.svg)
0431 262 273

Old or damaged car window tint can lose its appearance and performance, with bubbling, purple discolouration, peeling and hazy visibility becoming more noticeable. When this happens, vehicle owners often wonder whether the film can be removed and replaced without damaging the glass or rear defroster lines.
Prime Tinting helps drivers understand what is involved when old tint needs replacing, from careful film removal and adhesive cleaning to selecting and installing new film. The right approach is important when working with deteriorated tints or rear windows with delicate defroster lines.
For drivers considering car tinting in Canberra, replacing old film can restore clearer visibility while improving heat, UV and glare protection. A professional assessment can also help determine which film and tint darkness are best suited to the vehicle and its intended use.
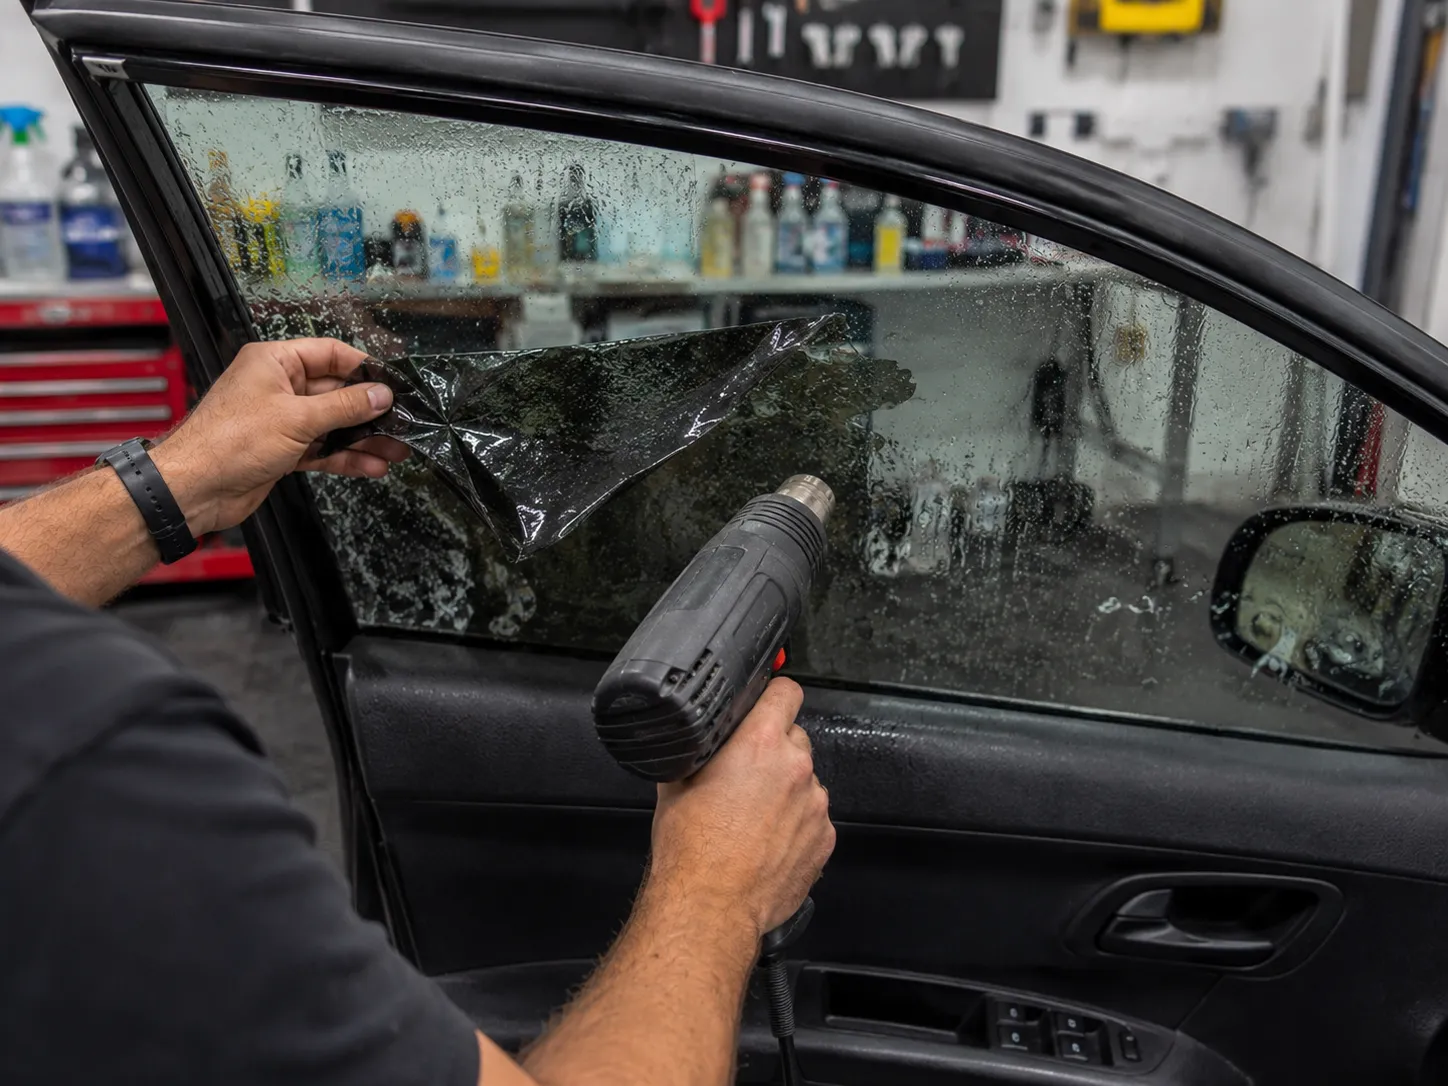
Car window tint usually shows signs of deterioration gradually rather than failing overnight. Bubbling, peeling, discolouration and reduced visibility can all indicate that the film has reached the end of its useful life. Recognising these issues early can help prevent further deterioration and improve driving visibility.
Bubbles and peeling are among the clearest signs that the tint's adhesive is breaking down. Bubbles may grow over time, while lifted edges allow dust and moisture to get underneath the film. Once the adhesive has deteriorated, attempting to repair individual areas is unlikely to provide a lasting result, making replacement the more practical option.
Older tint, particularly dyed film, can develop a purple, blue or blotchy appearance as it ages. Fading can indicate that the film is no longer providing the same level of performance. Haze and surface deterioration can also affect clarity in bright sunlight or when headlights are approaching at night.
Scratches caused by cleaning, pets or objects rubbing against the glass can make tinted windows look cloudy or distorted. If the film makes it harder to see clearly through the rear window at night or in wet conditions, replacement can restore visibility while providing an opportunity to upgrade the film.
Minor surface issues may sometimes be assessed individually, but bubbling, peeling, severe fading and widespread haze indicate that the film has reached the end of its service life and should be replaced rather than repaired. A professional assessment can also identify whether the glass or rear demister requires additional care before replacement.
Applying new window tint over existing film may seem like a way to save time, but it usually leads to a poor-quality and short-lived result. Old tint can have weakened adhesive, scratches, bubbles, fading and built-up contamination, leaving an unstable surface for the new film to bond to.
Layering tint can cause:
For a clean and durable installation, the existing tint should be removed and the glass thoroughly cleaned before new film is applied. This provides a smooth surface for proper adhesion and allows potential issues with the glass to be identified before installation.
Removing old tint and installing new film is a straightforward process when handled correctly, although extra care is needed around rear defroster lines, antennas and delicate interior trim.
The installer first checks the condition of the existing film, the glass and any features that could affect removal. Severely faded, bubbled or brittle tint may require additional time to remove, while rear windows with defroster lines need care.
The old film is carefully softened using controlled heat or steam before being peeled away from the glass. Any remaining adhesive is then removed using suitable products and tools designed to minimise the risk of scratching the glass or damaging rear defroster lines.
The glass is thoroughly cleaned afterwards to remove adhesive, dust and other residue. Proper preparation is important because leftover glue or contamination can affect the appearance and adhesion of the new tint.
Once the glass is clean, the replacement film is measured and cut to suit each window. The film is positioned on the inside of the glass using an appropriate application solution, then smoothed with a squeegee to remove excess moisture and prevent bubbles or creases.
Curved windows may require controlled heat to shape the film correctly. After installation, the tint needs time to cure, so the installer will provide instructions about when the windows can be opened or cleaned.
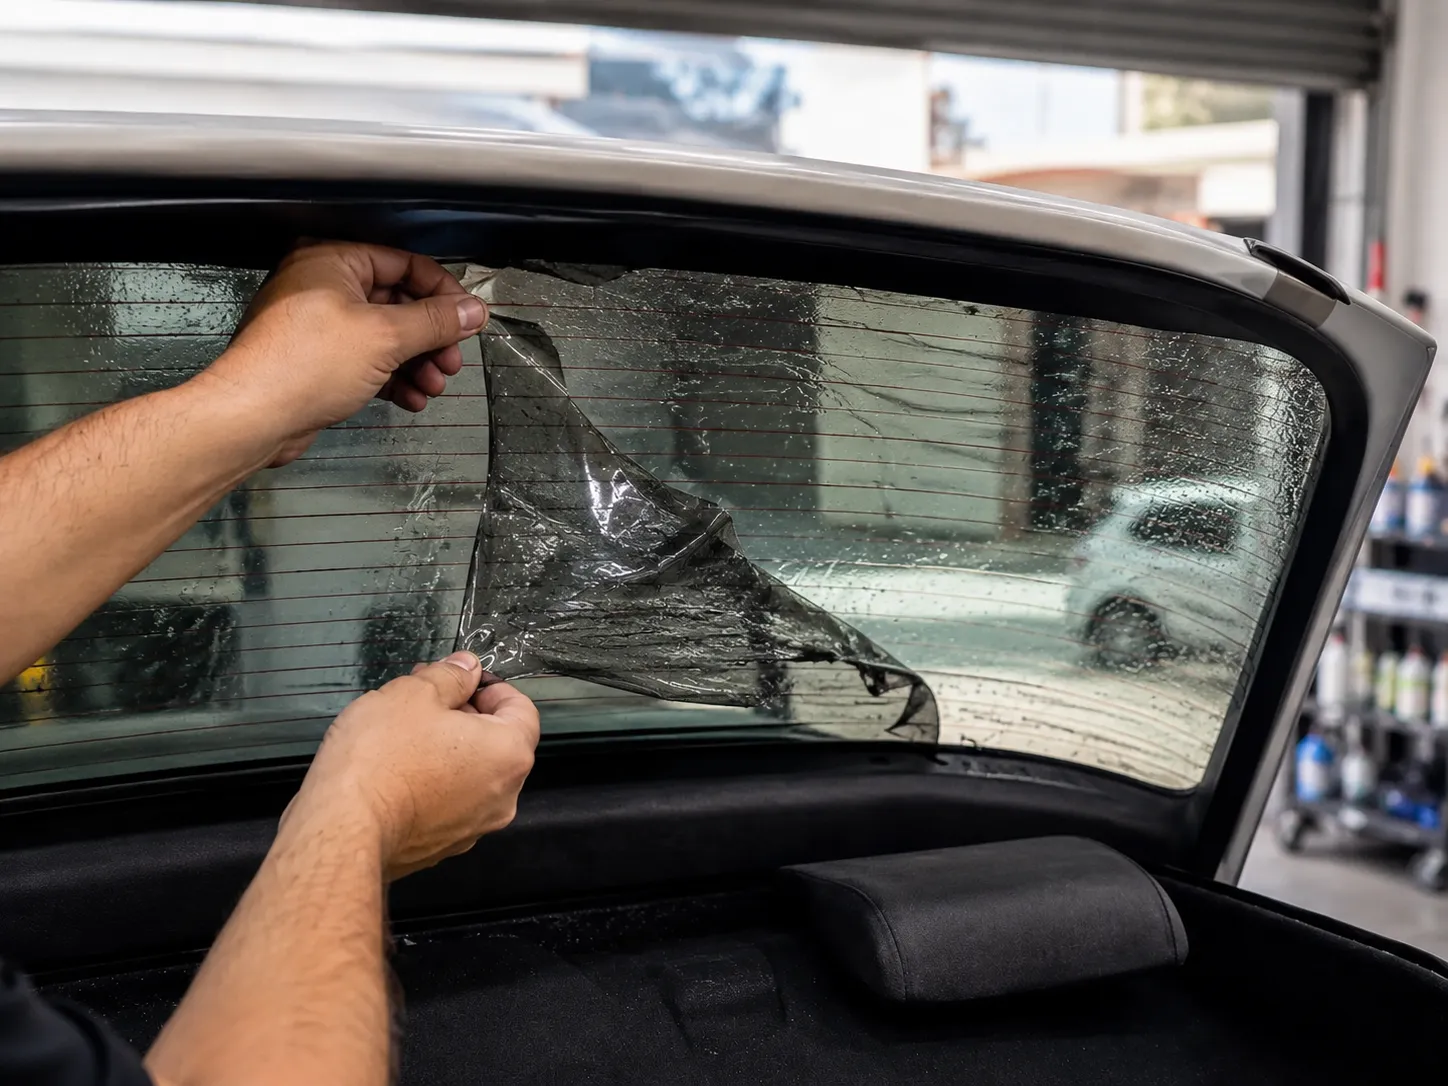
Yes, tint removal can damage the glass or rear demister if it is done incorrectly, but careful removal techniques can greatly reduce the risk. Automotive glass is durable, while the fine demister lines on the rear window require attention because scraping or pulling them can cause permanent damage.
Beware of these risks:
Professional installers use controlled heat or steam to soften the adhesive before slowly removing the film. Remaining adhesive is then cleaned from the glass without unnecessary pressure on the demister lines.
While there is always some risk when removing old, hardened tint, an experienced installer can minimise the chance of damage while preparing the glass for replacement film.
Replacing old window tint is an opportunity to improve the vehicle's appearance, comfort and protection. The right film depends on the vehicle, the windows being tinted and the driver's priorities, including heat rejection, UV protection, privacy and visibility. Choosing a film that performs well in strong sunlight while remaining suitable for applicable ACT requirements is necessary.
Dyed tint is a more affordable option that provides privacy, glare reduction and basic heat protection. It can suit drivers who want a darker appearance without the cost of premium films, although it may fade or lose performance sooner than higher-quality alternatives.
Carbon tint offers a balance between cost and performance. It can provide better heat rejection than basic dyed film while maintaining a stable, non-reflective appearance. It is a practical option for drivers who want improved performance without moving to a premium ceramic film.
Ceramic tint is a premium option designed to provide stronger heat and UV rejection while maintaining good visibility. It can also reduce glare without requiring an excessively dark shade, making it suitable for drivers who prioritise comfort and solar protection.
Choosing the right window tint percentage should not be based solely on appearance. A very dark film can affect visibility, while different windows may have different applicable requirements. The existing glass should also be considered when selecting the final shade.
A professional installer can assess the vehicle and recommend a suitable film and darkness based on the desired balance of privacy, visibility, heat rejection and compliance. The best replacement tint is not necessarily the darkest or most expensive option but the one that suits the vehicle and how it is used.
Tint removal and replacement usually takes around 2 to 5 hours for a standard passenger vehicle. The exact timeframe depends on the number of windows, vehicle size, condition of the existing film and type of replacement tint. Old, brittle or heavily bubbled film can take longer to remove, especially when stubborn adhesive remains on the glass.
The process includes removing the old film, cleaning the glass, preparing the surface and installing the new tint. Rear windows with defroster lines may require additional care, while larger vehicles, curved windows and difficult-to-remove adhesive can also extend the job.
The vehicle can usually be driven after installation, but the new tint needs several days to cure. During this period, windows may need to remain closed and the film should not be cleaned until the recommended curing period has passed. A professional installer can provide a more accurate timeframe after assessing the vehicle and existing tint.
The cost of removing and replacing car tint varies between vehicles because several factors influence the amount of labour, preparation and film required. Understanding these factors can help drivers compare quotes more accurately and avoid unexpected charges.
The condition of the old film is one of the biggest factors affecting removal costs. Tint that peels away easily can be relatively quick to remove, while brittle, bubbled or heavily deteriorated film may break into small pieces and leave stubborn adhesive behind. Additional cleaning and preparation can increase the labour required.
The size and design of the vehicle also influence the overall cost. A small sedan requires less film and labour than an SUV, four-wheel drive or van. Large, curved or unusually shaped windows can take longer to prepare and install, which can also affect the final price.
The replacement film selected will also affect the cost. A basic dyed tint is more affordable, while carbon and ceramic films can cost more because of their materials and performance. Premium films may offer benefits such as improved heat rejection, UV protection and glare reduction.
Old tint removal is a separate labour-intensive process rather than simply part of installing new film. The existing film must be stripped, adhesive removed and the glass thoroughly cleaned before replacement tint can be applied. Rear windows may require additional care around demister lines when the adhesive is difficult to remove.
When comparing quotes, drivers should confirm whether removal, adhesive cleanup, glass preparation and installation are included. This provides a clearer picture of the actual cost and prevents a low installation price from becoming more expensive once removal is added.
A professional assessment is the most reliable way to obtain an accurate quote. The installer can inspect the existing tint, check the glass and demister, discuss film options and determine the work required.

Choosing an experienced installer is important when replacing old window tint when the film is brittle, heavily bubbled or stuck to a rear window with defroster lines. Drivers should look for a specialist who can safely remove the existing film, properly prepare the glass and recommend a replacement suited to the vehicle.
Before booking, consider:
The right installer combines quality film with careful removal and precise installation. This can help protect the glass and rear demister while providing a cleaner, longer-lasting finish.
Old car window tint can usually be removed and replaced safely when the right techniques are used. Bubbling, peeling, fading and haze indicate that the existing film may no longer be performing properly, while careful removal helps protect the glass, rear defroster lines and surrounding trim.
Replacing the film also allows vehicle owners to improve UV and heat protection, reduce glare and refresh the vehicle's appearance. Prime Tinting can provide professional advice and installation to help ensure the new tint is suitable, durable and compliant, giving drivers a cleaner finish and greater comfort on the road.
Prime Window Tinting is a family owned and operated local business in Canberra, ACT. We're driven to deliver excellence in the tinting of your car, home or office.
